Do you currently have Kindergarteners or Firsties that are straight up struggling with blending and segmenting? Have you tried blending cards? They can seriously change the way your students put sounds together to form words or take sounds apart to spell words. I have Five Ways to Use Blending Cards to share how I use these cards to help struggling readers.

Way #1 to Use Blending Cards: Match and Identify Letters
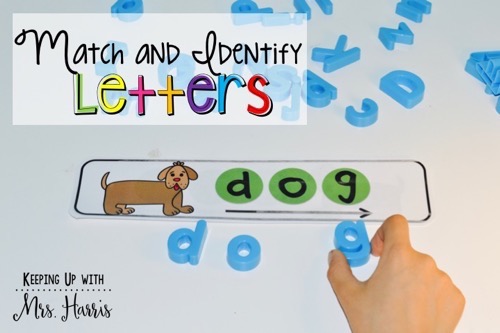
Let’s start with the basics. My four year old has started to learn his letters and letter sounds. A great first step for using blending cards is just to allow the child to match up the letters with magnetic letters, letter tiles, etc. This will help the child correlate letters to sounds and sounds to words. It’s a pretty simple start to the complicated process of reading.
Way #2 to Use Blending Cards: Segment and Listen to Letters
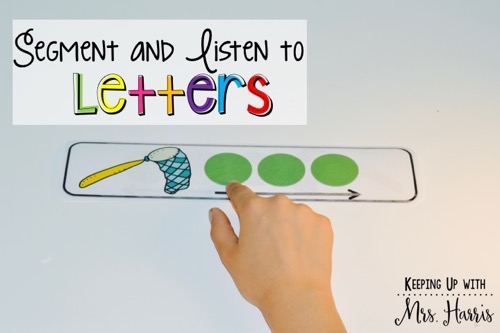
Once students can match letters and produce sounds, introduce segmenting. Using the pictures on the cards and the dots, sound out the word slowly so each letter is heard. I use the release approach with segmenting.
Here is how it goes…
- I have the card and I model how to segment slowly while I touch each dot for a different sound.
- Students each get a card and they repeat after I model.
- Students each get a turn to model what I just showed them.
- Pick a new picture and repeat the steps until students can segment independently.
Did you notice that I never once said anything about identifying the letters to the sounds? This activity is about hearing the sounds, not identifying them.
Way #3 to Use Blending Cards: Blend and Identify Sounds
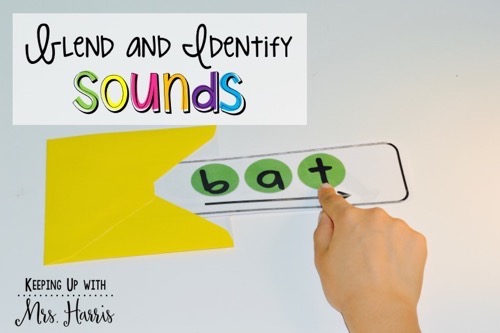
Once students can hear the different sounds on their own of a word, they can then start to identify letters and sounds. I like to start this process with providing the letter and identifying the sound. For this activity, I use an envelope to cover the picture. This way students aren’t focusing on the image or trying to say the word slowly (segmenting). I want students to only focus on providing a sound for each letter that they see. **TIP: I love to use a voice recording feature on the iPad for this activity or whisper phones. When students “hear” what they are saying and focus on the sounds that they are making, they will start to “hear” how these sounds form words.
Way #4 to Use Blending Cards: Segment and Identify Letters
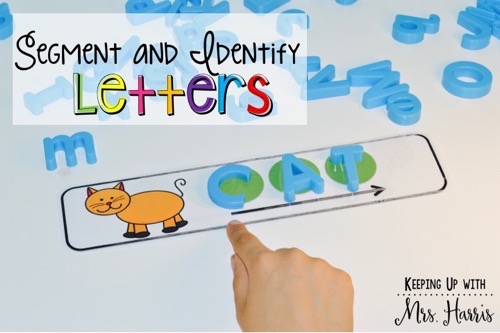
It’s time to step it UP! Now that your students can identify letters, identify sounds, segment words, they can connect the three skills together. For this activity, students segment the picture and find letters to spell their word. I use magnetic letters or letter tiles for this activity. The reverse side of my cards has the letters so students can self-assess their work. I always allow this so students don’t become frustrated.
Way #5 to Use Blending Cards: Blend and Say the Word
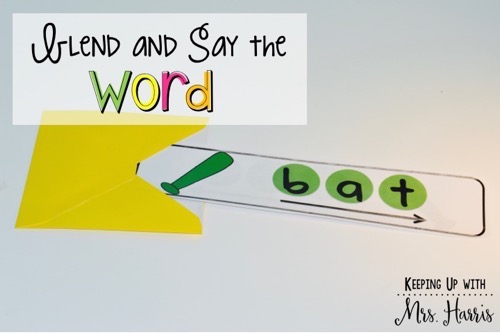
We are ready to start reading! For this activity, again, I use an envelope to cover the picture. Students focus on letters and the sounds that they make to see if they can blend the letters into a word. Then they can pull the card out of the envelope to reveal the picture!
Looking for a set of blending cards? Click here to see my CVC pack or my words with blends pack here.
***Or you can purchase right here on my website a bundle with both packs for a discounted price!***
5 Comments
I purchased the Phonics Intervention Bundle on TPT and I am printing out some things. I am having a hard time printing the Blending Dot Cards (Blends) because the images are not reversed. The first two pages are reversed but the other 4 or not. Is there a secret to printing these out.
Hi Jodi! Email me at keepingupwithmrsharris@gmail.com
Are the blending cards suppose to be printed back to back so that the words are on the back of the blanks?
That is how I prefer to print mine. It makes it better to flip and check if you are using letter tiles.
Are these suppose to fit in the photo box?? Mine are too long 🙁
Comments are closed.