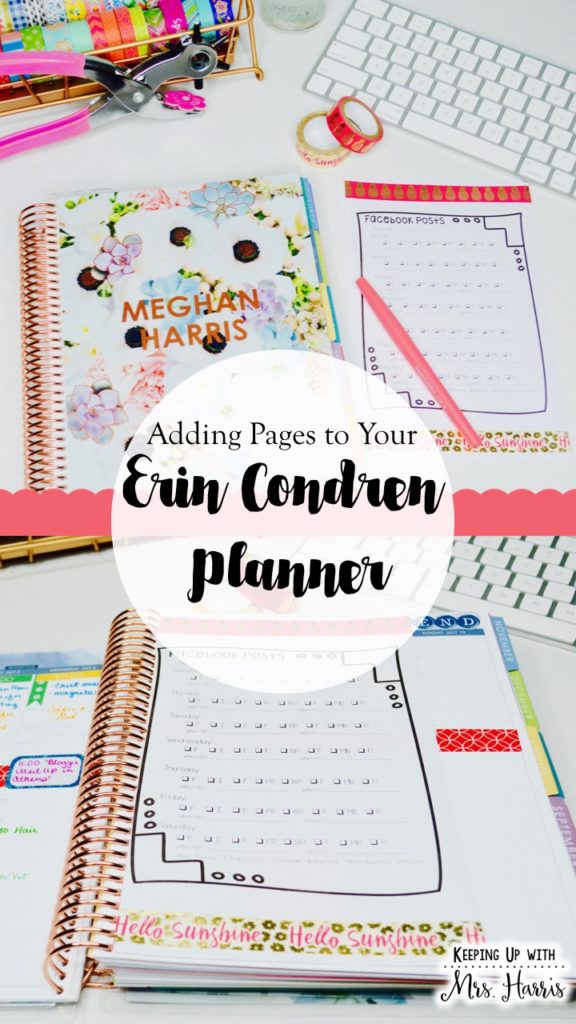
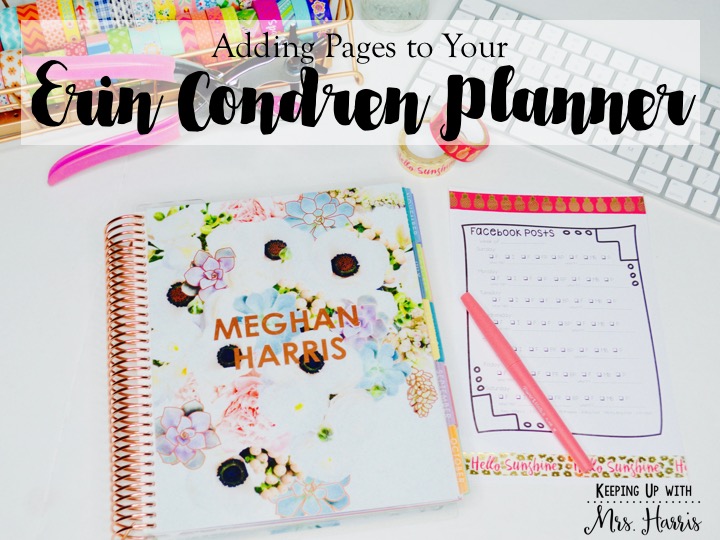
I don’t know about y’all, but to me an excellent planner is hard to find. I discovered Erin Condren planners four years ago when I ordered my first teacher planner. Since I wasn’t in a traditional classroom there were a lot of parts I couldn’t use. For the past three years, I ordered a Life Planner for my personal, school and blogging/TPT life. I love my Life Planners, but there are elements that I really need added in order to keep up with my social media outlets for my TPT store. I then found a fantastic blogging planner by The 3 Am Teacher (check it out here). The only problem there was that I really wanted a planner that was printed and bound. Plus, I hated the idea of two planners.
Here’s what you are going to need…
Step 1:
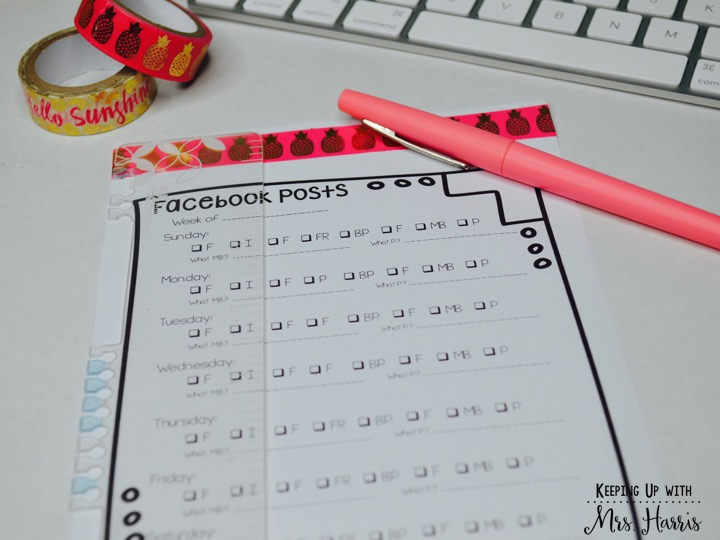
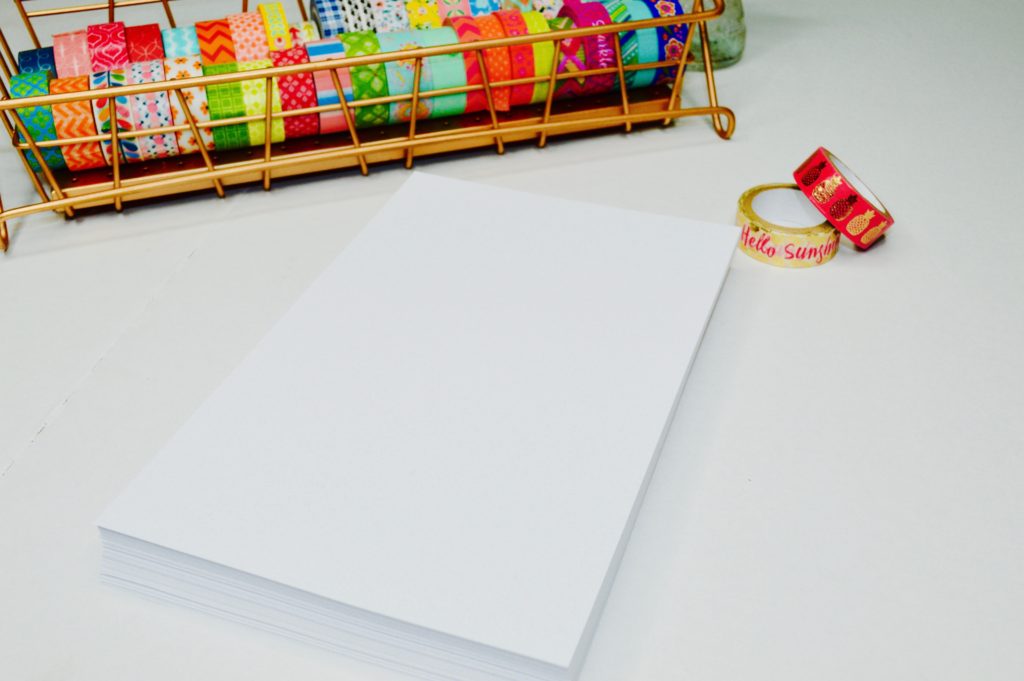
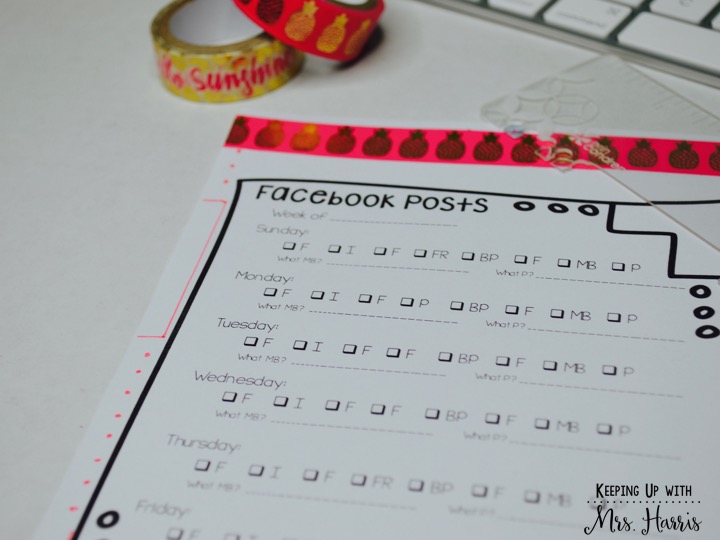
Print out the pages that you are wanting to add. You can either print reduced size (75%) and cut the pages down or order pages online that are already cut for you. I started out by cutting my own paper, but then decided to order the following paper from Amazon. I still have plenty of paper left to use! Click here to go to the paper that I ordered. (This is an Amazon affiliate link.)
Step 2:
If you wish to laminate your pages (which I recommend), laminate the entire page now. This will allow you to reuse the pages as many times as you wish. Here is the exact laminator that I prefer to use! (This is an Amazon affiliate link.)
Step 3:
Step 4:
Step 5:
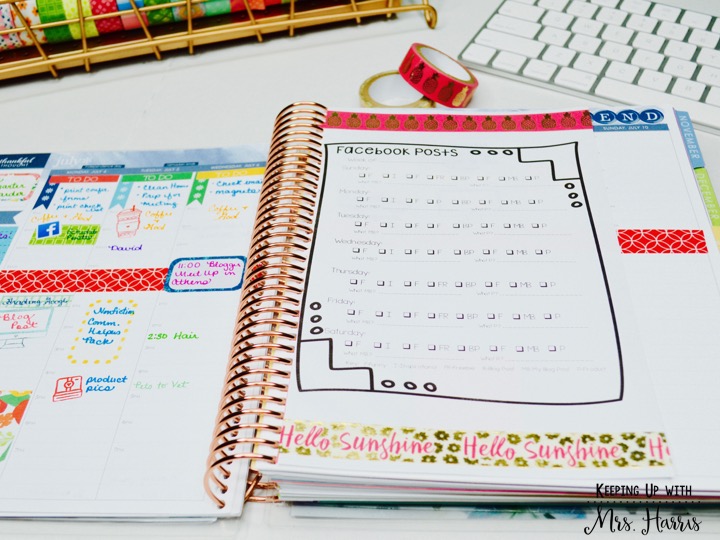
Now slide those pages in and attach the slits to the rings. (Another reason why the lamination is important, but not required) Laminating the pages will allow them to stay more secure.

14 Comments
I LOVE that you wrote a HOW-TO post!! I think the planner turned out perfect and I am so happy that mine could be used to make the perfect planner for you!!! <3 the collaboration and creativity!!
Thank you!!
Michelle
I LOVE this! Thank you for sharing the step-by-step.
This is FANTASTIC! I’ve wanted to purchase the Hello Planner, but since I have the EC one already, I just didn’t see how to use both. Thank you for the idea and for the amazing tutorial. I never would have though to laminate that – that is genius! and that hole puncher looks awesome! I definitely will be investing in one! Thank you so much for sharing!!
Thank you for this great tutorial post. I would have never guessed a hole punch like this would be available at Michael’s. I have all sorts of ideas about what to add to my new EC planner now. Thanks!
Amber, it’s a game changer for sure! Thanks for reading!
Hi! Thank you for this!!! I just wanted to ask though, I have a laminating machine and the pouches but I’ve never done just partial pieces of the paper, I had no idea you could do that. Do you just put in on the piece you want laminated and put it through the machine like normal even though a piece of the paper doesn’t have a sheet on it?
Again thank you for this!
Hey Stacy! Thanks for reading! Yes you can laminate partial sheets as long as there is enough space around the page to seal the page 🙂
Thank you so much!
Did you use a hot laminator? I would think it would burn the pages if only part of it is in the pouch.
I have a small laminator I bought from Walmart and it didn’t burn the pages.
What size do you need to punch the perfect hole size to fit the planner
Simply Brilliant! I am ordering that hole puncher now! Many thanks from a tired but blessed HomeSchooling Mom.
How cool is it that this post can still be so incredibly helpful after 4 years?!? I fell in love with EC in 2015 and have recently struggled to make enhancements that I need as my job responsibilities have changed. Although my preference would be to have something readily available that I could just purchase, this post certainly gave me the “A-HA” that I so desperately needed so I could make my beloved planner perfect! Thanks so much for your creative insight!!!
Comments are closed.