Do you have a few students that just can’t understand how to blend or segment words? Maybe they aren’t developmentally ready, or maybe they just need visuals to help them understand the different sounds in a word. Let’s dive into a few tips and strategies for learning to blend and segment!
Tip #1 – Use picture books to promote phonemic awareness.
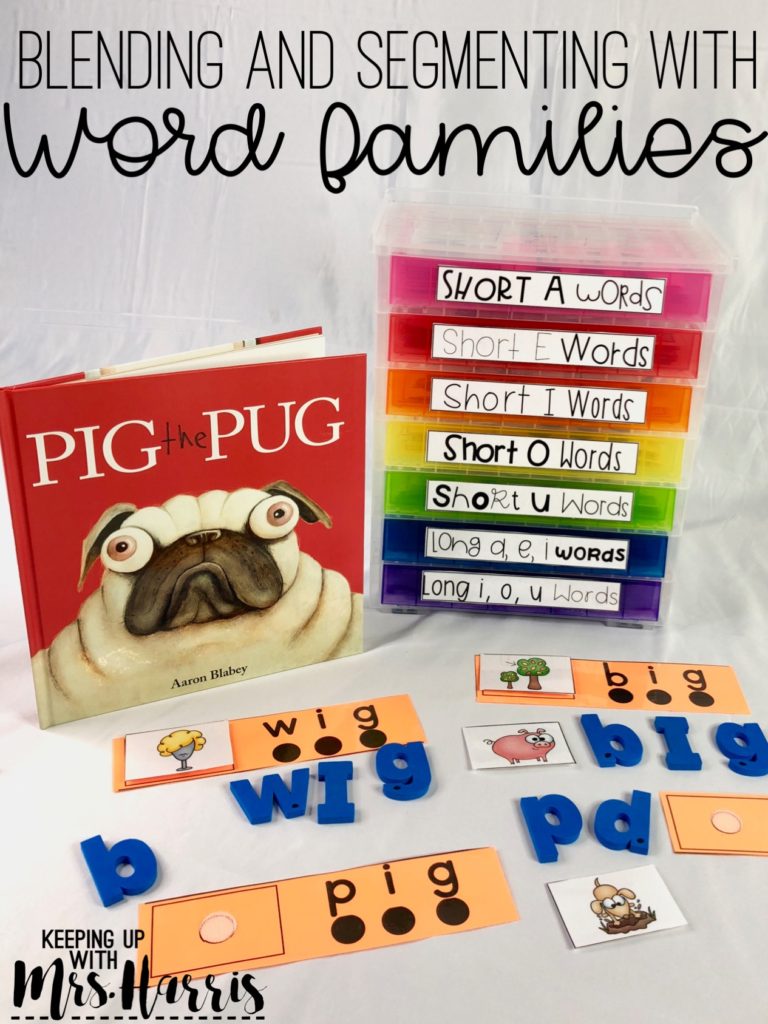
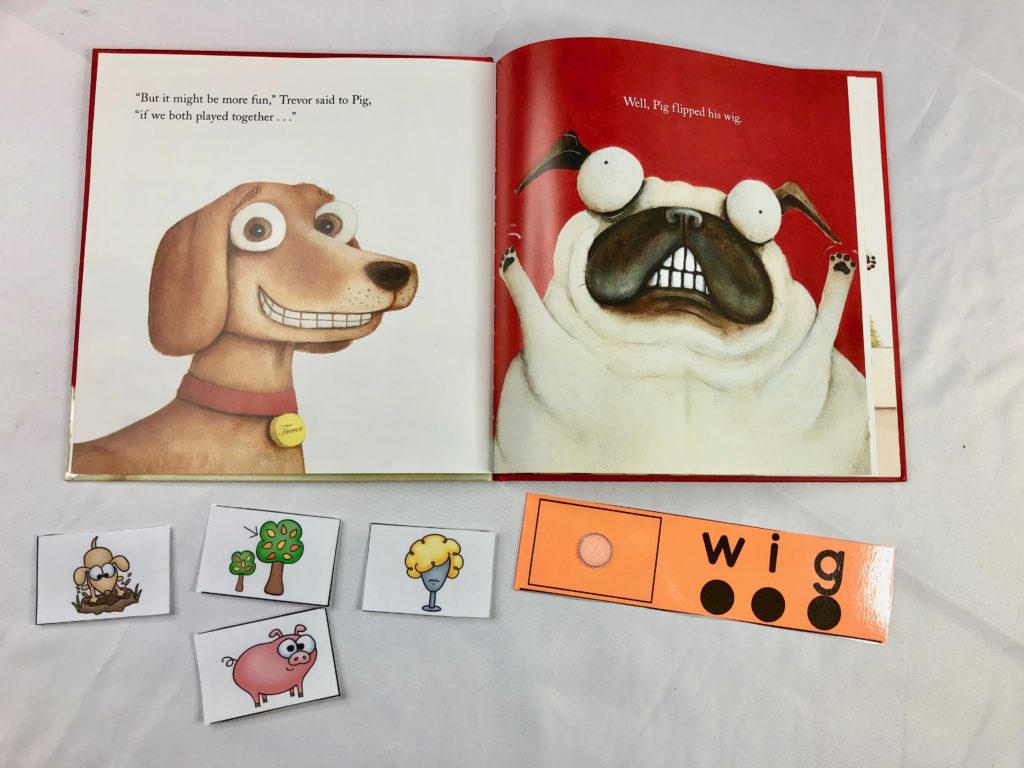
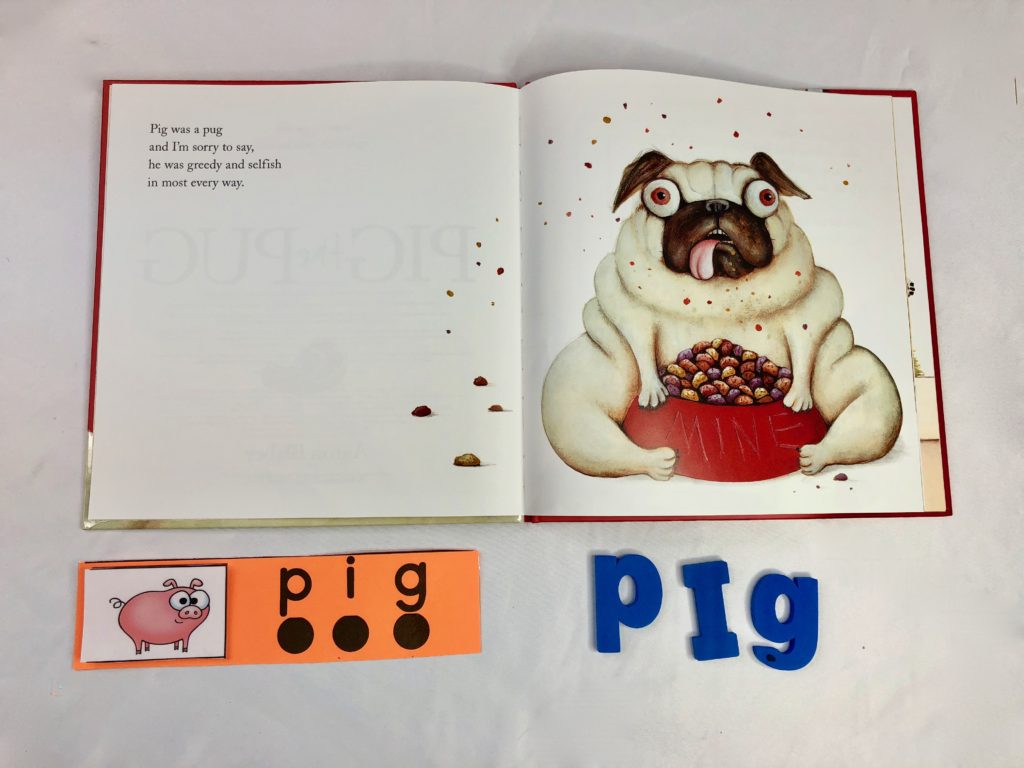
Providing students with many different opportunities to read and listen to reading helps tremendously! When students practice listening and anticipating the next word with books that rhyme, they will become more developmentally ready to segment words as well. Strategically picking books that have rhyming words and easy to predict text is just one way that you can promote segmenting and blending early on. For example, take a section of text from Pig the Pug…
“Pig was a pug
and I’m sorry to say,
he was greedy and selfish
in most every __________.
Allowing wait time between lines that rhyme will encourage students to not only be active listeners, but also anticipate the text and words that they should hear next. What does rhyming have to do with segmenting??? A TON!
Tip #2 – Rhyme Time!
“If you can’t rhyme, you can’t read.” Have you ever heard that saying? Students who are able to rhyme at a young age have a higher likelihood to be a more advanced reader later in their educational careers. While I don’t think you should spend hours pushing students to recognize the differences between word family words and rhyming, I do believe that the ability to listen closely and hear the difference in rhyming words can make a huge difference when learning to segment. Why? Segmenting requires the ability to differentiate between sounds in a single word. If a word has three sounds, students must be able to segment or blend the letters to read or write the word. I would challenge you to immerse your students in poems or nursery rhymes early in the school year (especially in preschool and kindergarten) to develop the ability to hear the difference of letters in rhyming words.
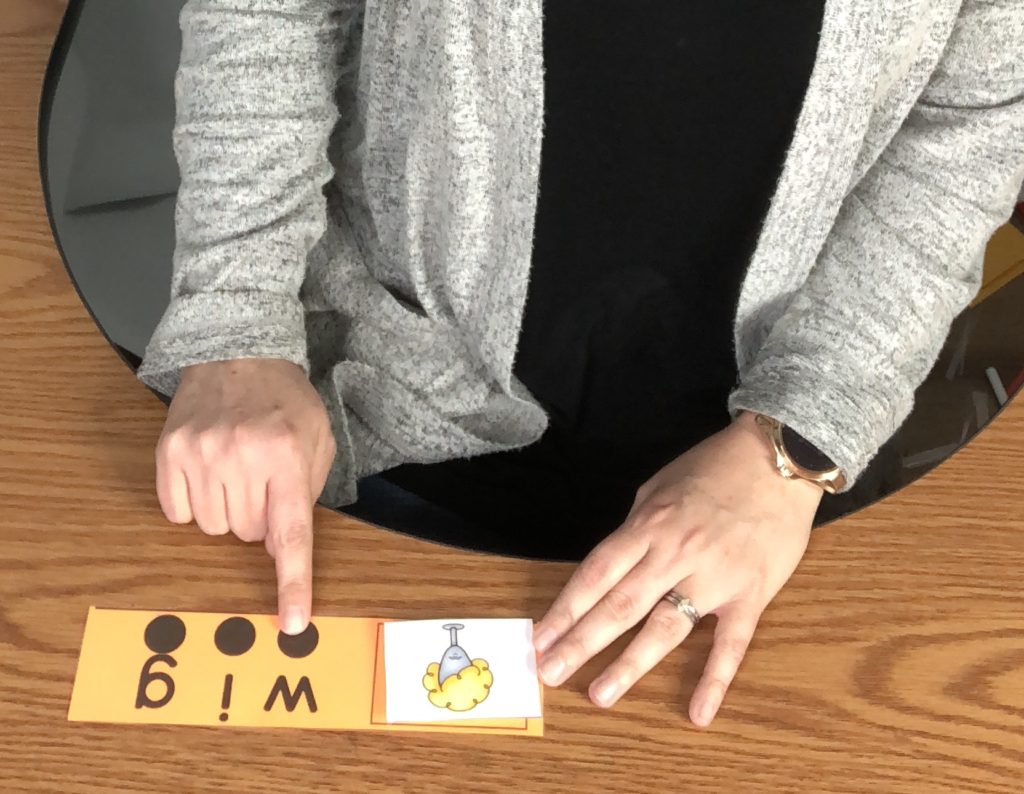
Tip #3 – Model First
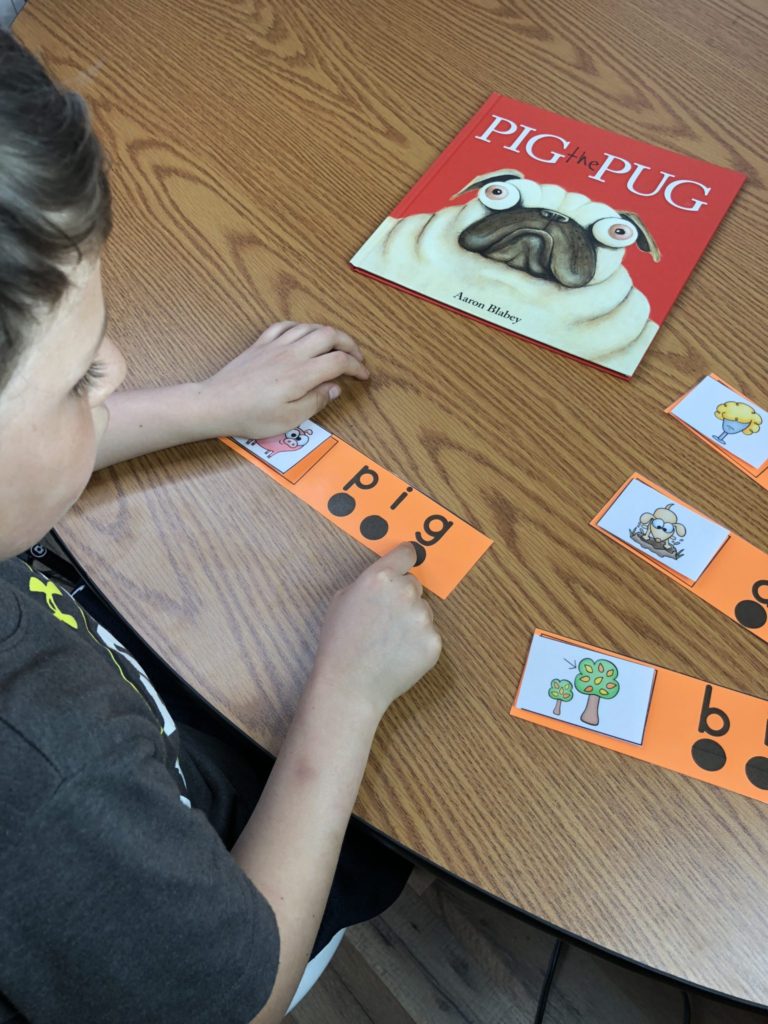
When I introduce blending with students, I prefer to use dot cards. What are dot cards? Simple strips of paper with a dot for every sound in a single word. Start with word families. This will remind students of the rhyming practice they had previously and help them feel a little more confident when swapping out initial sounds. Then they can anticipate or predict (again, already practiced this skill) what the word will be once the initial sound is changed. CVC words all have three dots. One for each sound in the word. The dots serve as a visual reminder to stop and pause between individual sounds (segmenting) or to blend the three sounds together to make a single word (blending). I start with modeling. Students move their fingers across the dot cards just as I do it. I say the picture word, produce each individual sound, make the sounds a little faster, and then blend the letters into a word. Now it is their turn to try!
Tip #4 – Practice, practice, practice
It doesn’t come quickly for everyone. Many students require a lot of practice, but just be patient. After enough practice, they will start applying the blending to their own reading and tackling those words even without the dots. If you don’t have my dot cards bundle, use index cards with words of the same word family. I’ve also seen many others who use stickers or other visual cues for students. Whatever you choose to use, just be consistent.
Tip #5 – Blend in Context
Yep, I’m taking it back up to the very top! Pull back out those books that focus on word families and rhyming. Now as you read, encourage your students to use their dot cards or index cards you have created as they are blending the letters into words. Yes, they can anticipate the text, but maybe this time, they will also be able to blend as they read. This is how we build incredibly confident readers!!!!
Tip #6 -Now it is time to segment!
After students have a SOLID foundation with blending, it is time to segment to spell. This is an exciting stage because now students are really ready to show what they know. Again, I like to use dots. Students draw a dot for every sound that they hear and then go back and work on producing the sounds and letters that match the sounds. You can use foam letters, letter tiles or the blank dot cards from my Blending and Segmenting Dot Card Bundle. It is completely up to you!
Want to try the dot cards for FREE!
Yep, you can try these awesome dot cards for free! Just click here to sign up!
Want to see more about the Blending and Segmenting Dot Cards? Watch the video below!
4 Comments
I LOVE your dot cards and your organization! What a great post 🙂 Thank you.
What a great post! Dot cards should be an essential part of every early intervention program!Great post! ♥
Such an awesome post! Your video was great (and the weather looks soooo nice)….we have snow in MI, ughhh! I love your organizational bin; everything looks fantastic! I’m jealous, and I need to get my butt in gear. I actually went and bought the task card bins from Michaels over Spring Break. There’s 16 small boxes that fit inside 1 big box/holder. I got 2 (32 small boxes total), so now I just need to take the next steps…laminate, cut, etc. Thank you so much for sharing. I signed up for your newsletter, and I’m looking forward to more of your posts! 🙂
Nice system! Thanks for demonstrating.
Note that the video is somehow reversed, so all of the text is backward. I’m sure your cards aren’t written that way, but it was a bit distracting at first. Just wanted to make you aware of it.
Comments are closed.