
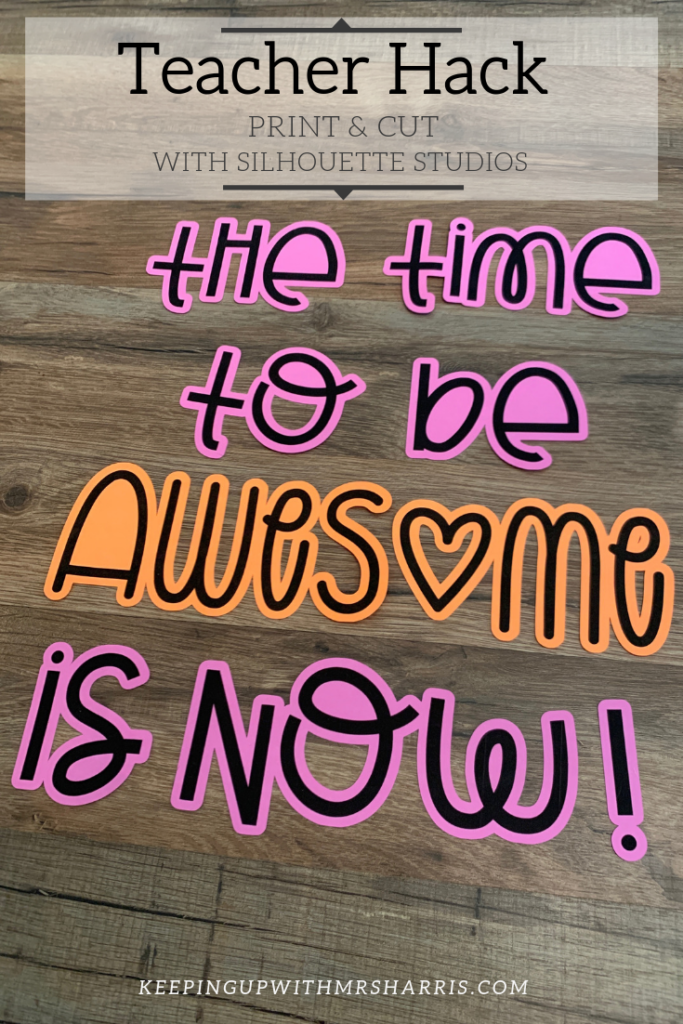
Looking to make “Pinterest perfect” letters for your bulletin board or classroom display? Have you heard about the print and cut feature with Silhouette Software for your Cameo Silhouette? I hadn’t either, and after lots of hours of trial and error, I figured it out! Get ready for your mind to be blown…
Supplies Needed:
- Cameo Silhouette
- Silhouette Software on Computer
- Computer with Powerpoint (this might not be needed, but this is how I designed my letters)
- Printer
- Cardstock or paper 8 1/2 x 11 (you can cut 12×12 paper down to size if you want a cute scrapbook pattern)
Design in PowerPoint
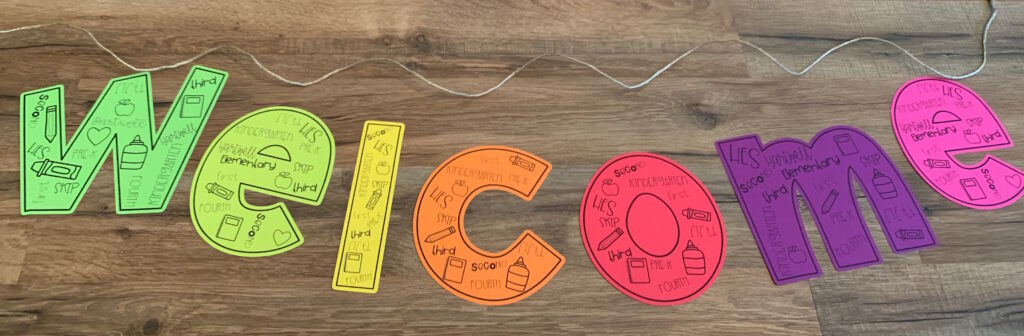
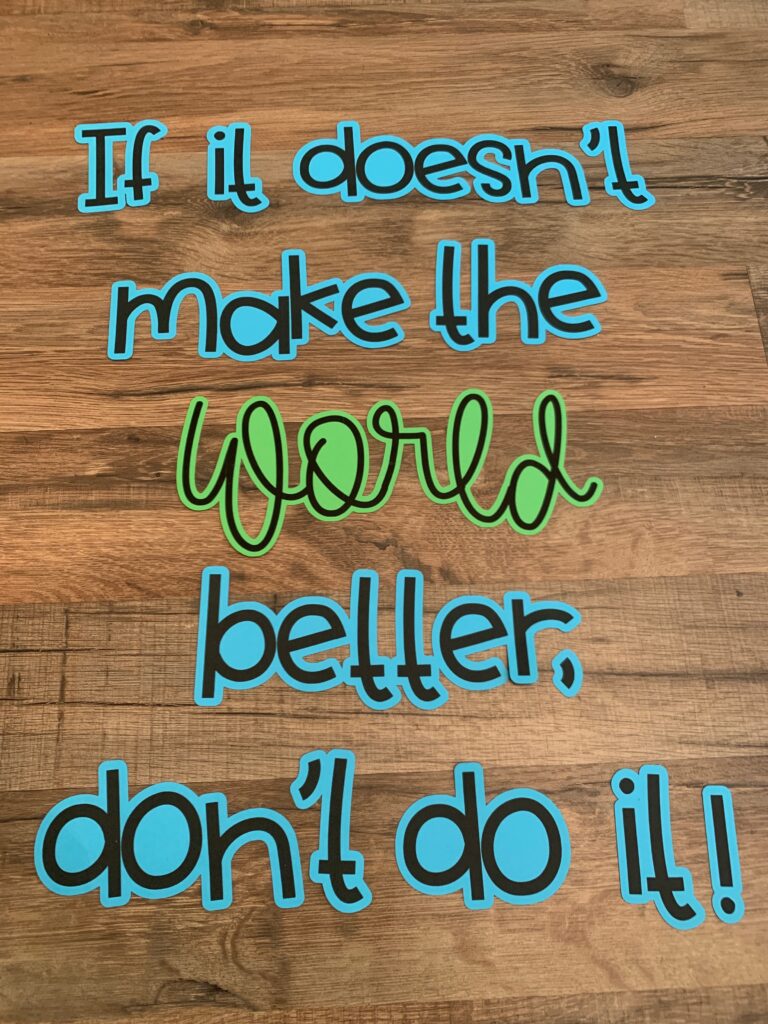
You can get as fancy or as plan as you would like with your letters in PowerPoint. You can see on the “Welcome” banner above that I got a little detailed with this design, but the other examples in this post are just me typing words onto slides. Remember that if you want each letter to be a different color, like the design above, you need to have one letter per page. Once your design is ready, go to file and export. Save as a PNG file. This will create a folder with each slide as an image file which is what you need to trace around.
Setting Up Silhouette Software
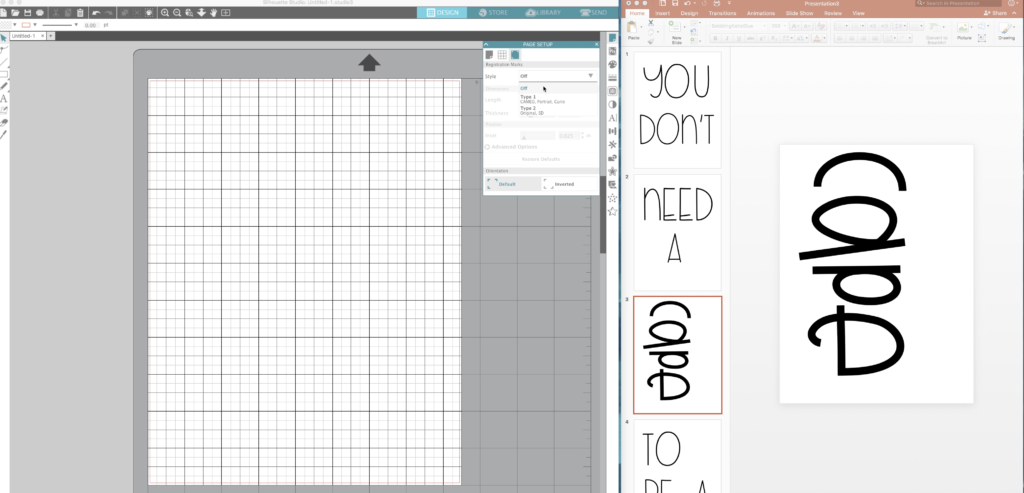
Under “Page Set Up Panel” (far right menu options), there are two settings you need to turn on to get ready to go. First, change the page size to “letter” 8 1/2×11. Then in that same menu, click on “Registration Marks” and in style, select “Type 1”. (If you are a visual learner, scroll down to see the quick video tutorial I did.)

Step 1: Add “Image” and Print
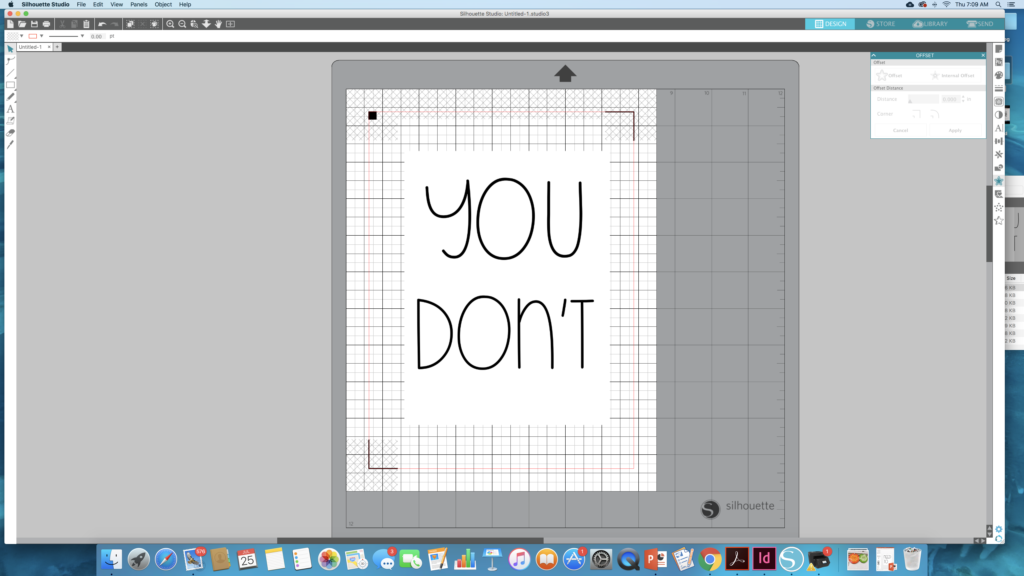
Now that the software is all set up, just find where you saved your letters as PNG files and drag one onto the screen. Then, print on your paper.
Step 2: Trace and Delete

Use your “Trace” tool on the right menu tools side. Click “Select Trace Area” and highlight all of the letters on your screen. They should turn yellow. Once everything is highlighted, choose “Trace Outer Edge”. Then delete the letters or PNG that you have on the screen. You should see a red outline of the letters still on your screen.
Step 3: Off Set

Click carefully on the red outline of the letters that is on the screen… ****MAKE SURE NOT TO MOVE THE OUTLINE AT ALL****. Click on the offset tool in the menu on the right of your screen and then click on offset. You can adjust the area around the letters at this time as well. I like a thicker offset to show more of the color around the black letters, but this is personal preference. Again this is important, now click on the original outline, not the offset, and delete.
Step 4: Time to cut!

Now, load the paper into your Cameo and the software will read the printed registration marks and cut. If you are cutting on darker paper, I held a flashlight close to the machine as it read the registration marks. This helped make sure it was lined up properly.
There you have it! Now go grab those supplies and get to cutting!!!

2 Comments
This looks AWESOME! I just got a silhouette so I am still learning. How is making the image of the text different than just typing the words into Silhouette Studio and offsetting that? Thanks!!
What fonts did you use?
Comments are closed.